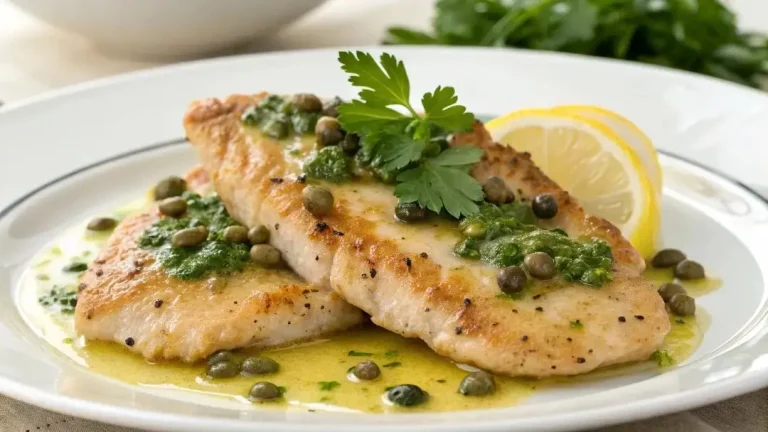
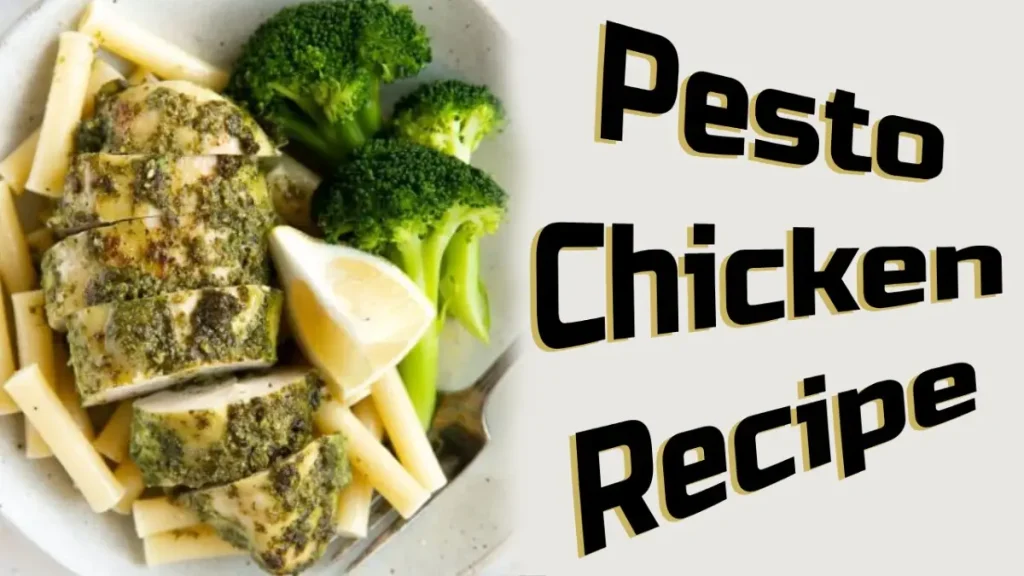
Pesto Chicken Recipe
Have you ever stared at chicken breasts in your fridge, wanting to make something special but ending up with the same old boring recipes? I’ve been there. After watching countless pesto chicken dishes turn out dry, flavorless, or just plain uninspiring, I discovered a foolproof method that changed everything.
The Problem with Most Pesto Chicken Recipes
Let’s be honest – most pesto chicken recipes leave you with either dried-out chicken or a watery mess where the pesto slides right off. I spent years trying different methods, only to watch that beautiful green sauce disappear into a pale, unappetizing pool on my plate. The common advice to just “spread pesto on chicken and bake” isn’t doing anyone any favors.
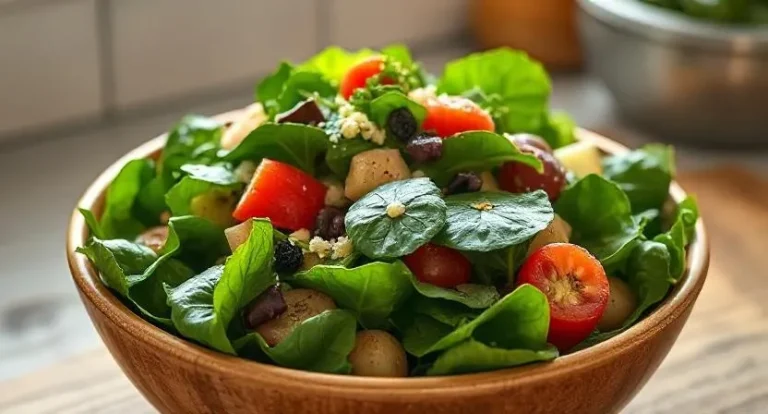
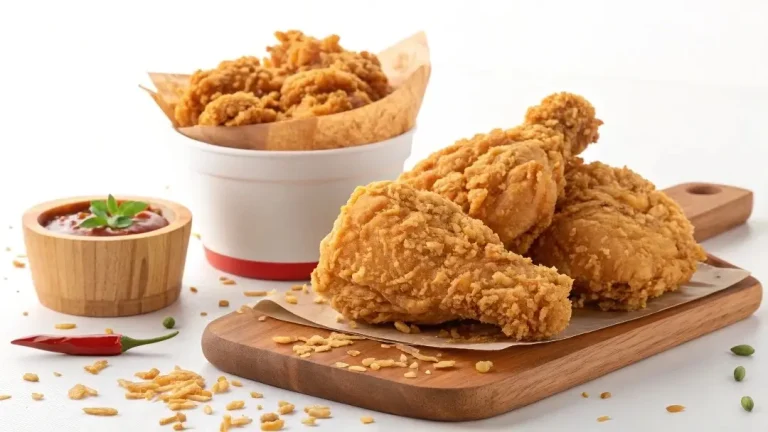
You May also Like: Chicken Piccata Recipe & Chicken Enchiladas Recipe.
The Game-Changing Solution
After countless experiments (and some memorable failures), I’ve perfected a technique that guarantees juicy chicken with pesto that actually stays put and infuses every bite with flavor. The secret? It’s all in the preparation and layering method that creates a flavor-locked crust while keeping the moisture sealed inside.
Ingredients (Quality Matters!)
- 4 medium chicken breasts (preferably organic)
- 1 cup fresh basil pesto (homemade or high-quality store-bought)
- 1/2 cup grated Parmigiano-Reggiano
- 3 tablespoons olive oil
- 4 cloves garlic, minced
- 1 tablespoon Italian seasoning
- 1 teaspoon sea salt
- 1/2 teaspoon freshly ground black pepper
- 1/4 cup pine nuts (optional but recommended)
The 3-Step Method That Changes Everything
- The Moisture-Lock Technique
Instead of just slapping pesto on raw chicken, start by briefly searing each breast for 2-3 minutes per side in a hot skillet. This creates a golden crust that locks in moisture and gives the pesto something to grip onto. I discovered this game-changing step after noticing how much better the pesto adhered to grilled chicken at a restaurant. - The Double-Layer Method
Here’s where the magic happens. After searing, let the chicken cool for 5 minutes, then apply your first thin layer of pesto. Mix the remaining pesto with grated parmesan to create a thicker spread. After 10 minutes, apply this second layer. This two-step process ensures the flavor penetrates deeply while creating a gorgeous crust that won’t slide off. - The Perfect Finish
Bake at 375°F (190°C) for exactly 15-18 minutes, depending on thickness. The key is using a meat thermometer to reach precisely 165°F (74°C). In the last 2 minutes, sprinkle with extra parmesan and broil until golden. Let rest for 5-7 minutes before cutting to keep all those lovely juices inside.
Quick Wins
1. Prep your pesto in advance and freeze in ice cube trays for perfect portions
2. Use the “palm test” for chicken thickness – press the center to match the firmness of your palm’s thenar muscle for perfect doneness
3. Toast your pine nuts in advance and store them in an airtight container for instant flavor boosting
Unique Tips You Won’t Find Elsewhere
Did you know that adding a tiny pinch of baking soda to your pesto helps it stay brilliantly green? Or that placing a few lemon slices under the chicken while baking creates a natural non-stick surface and adds subtle brightness to the dish?
The Results You Can Expect
Following this method, you’ll get consistently juicy chicken with a gorgeous golden-green crust that stays put when sliced. My family went from tolerating chicken dinners to requesting this dish weekly, and I’ve had dinner guests ask for the recipe every single time I’ve served it.
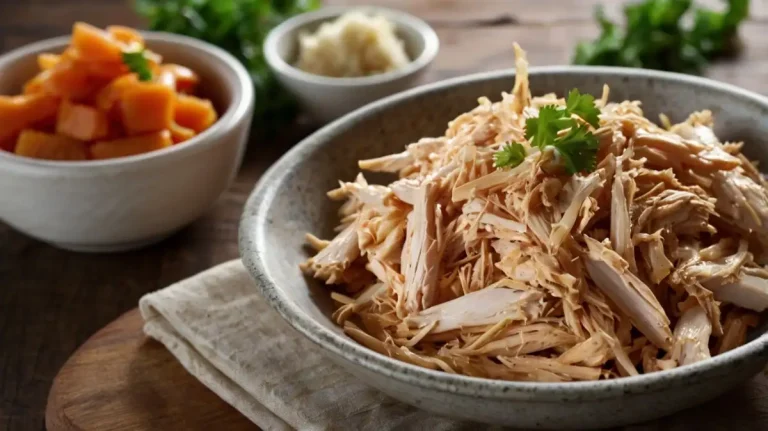
The best part? This recipe is totally meal-prep friendly. Make extra and slice it over salads, toss it with pasta, or layer it in sandwiches throughout the week. The pesto crust actually helps keep the chicken moist even after refrigeration.
Don’t Forget To Follow Us On Pinterest.
Remember, great pesto chicken isn’t just about the recipe – it’s about understanding the small details that make a big difference. Save this post for the next time you want to transform ordinary chicken breasts into something extraordinary. Your future self (and dinner guests) will thank you!