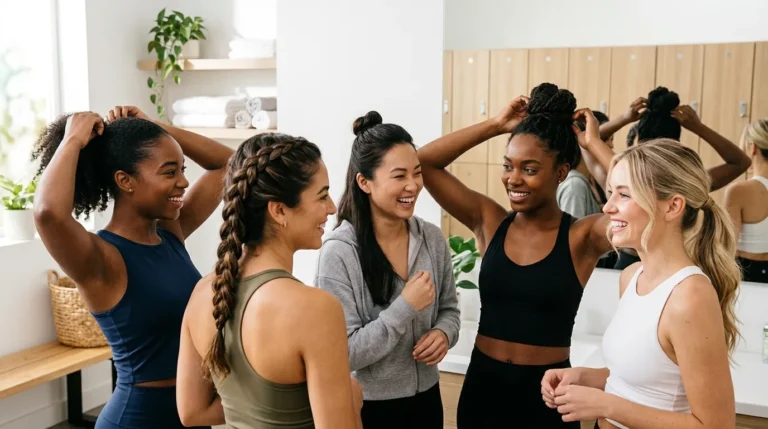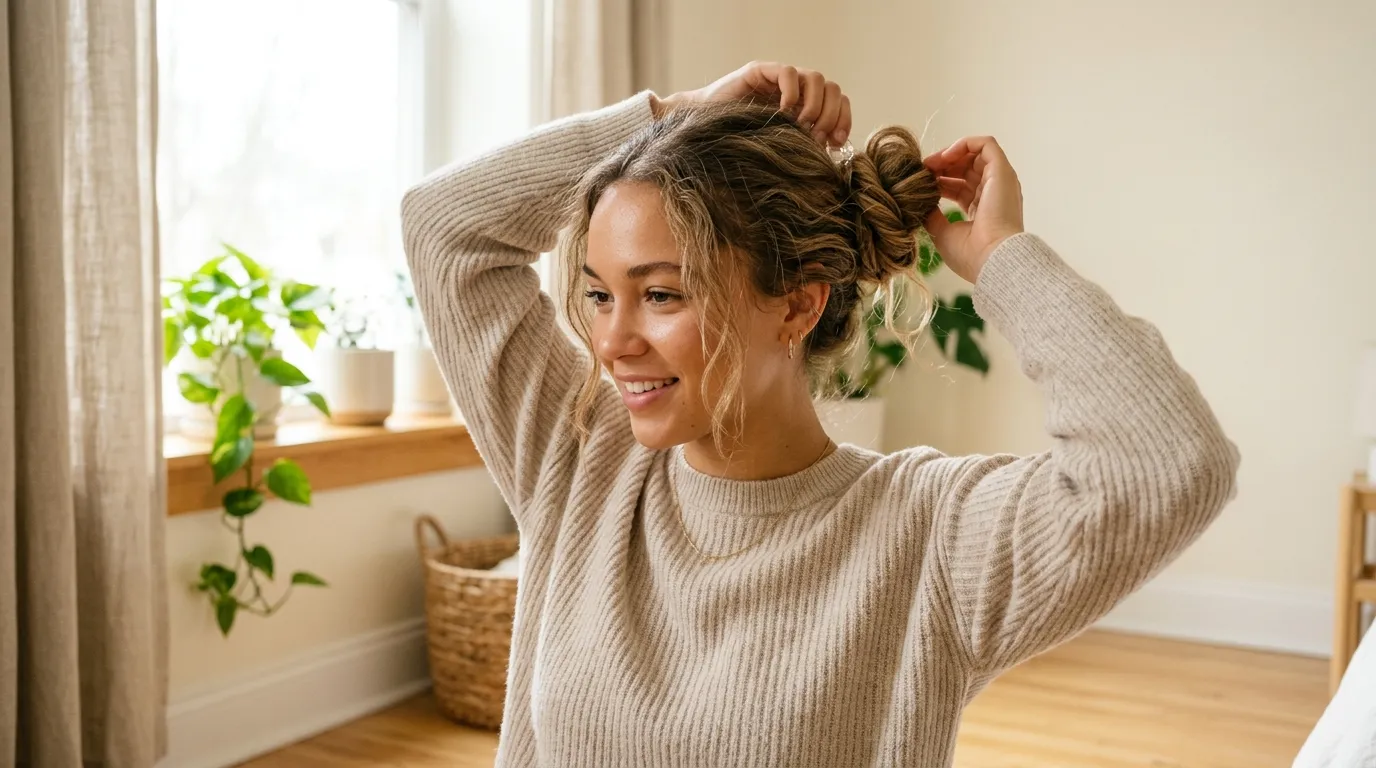
The messy bun is one of the most popular and effortless hairstyles on Pinterest because it works for almost every occasion—casual days, work-from-home looks, workouts, and even soft glam events. Its beauty lies in its imperfect structure, which gives a relaxed and stylish appearance without needing professional skills or tools.
In this guide, you’ll learn 25 easy and cute steps to create the perfect messy bun for long, medium, or even slightly short hair. Each step breaks down the process in a simple, beginner-friendly way so you can achieve a soft, voluminous, and Pinterest-worthy messy bun in minutes.
1. Start with Textured Hair
Start by working with slightly textured hair instead of freshly washed, silky hair. Messy buns hold better when the hair has some grip, so second-day hair or lightly waved hair works best. This helps create natural volume and prevents the bun from slipping.
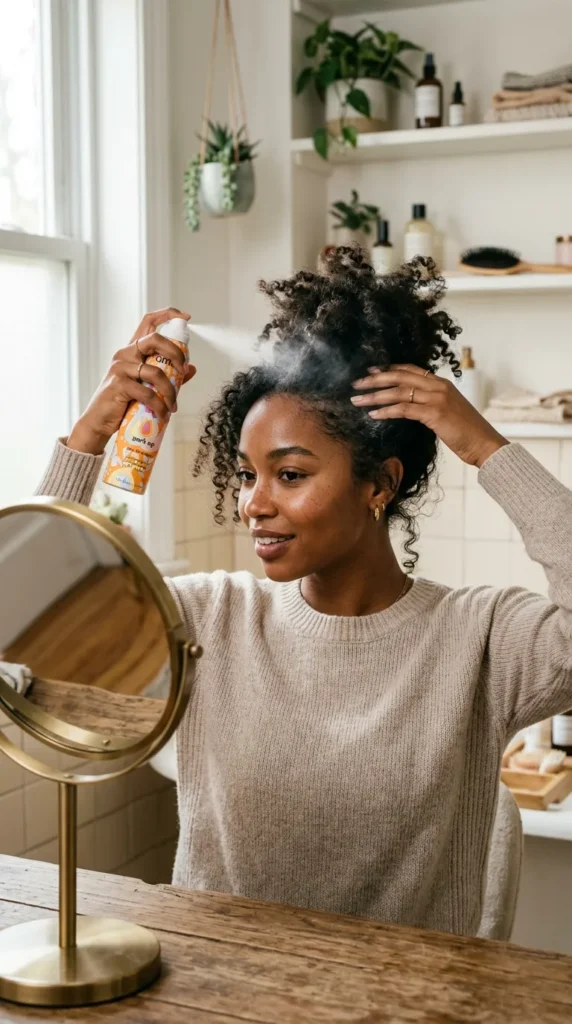
If your hair is too smooth, you can use dry shampoo or a texturizing spray. Pinterest users love this step because it builds the foundation for an effortless, voluminous messy bun look.
2. Brush Hair Lightly
Gently brush your hair to remove tangles without making it too smooth. The goal is to maintain some natural texture while ensuring the hair is manageable. Over-brushing can make the bun too sleek, which takes away from the messy effect.
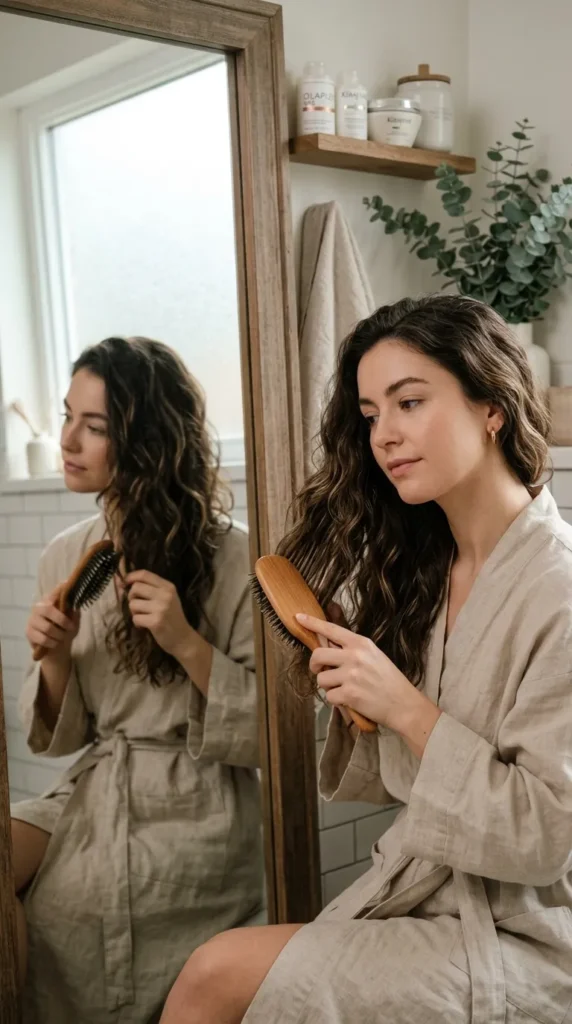
Use a wide-tooth comb or fingers for a softer finish. Pinterest users love this step because it keeps the hairstyle natural and easy to shape.
3. Gather Hair into a High Ponytail
Pull your hair into a high ponytail as the base for your messy bun. The height depends on your preference—higher for a playful look or mid-level for a softer vibe. This step defines the structure of your bun.
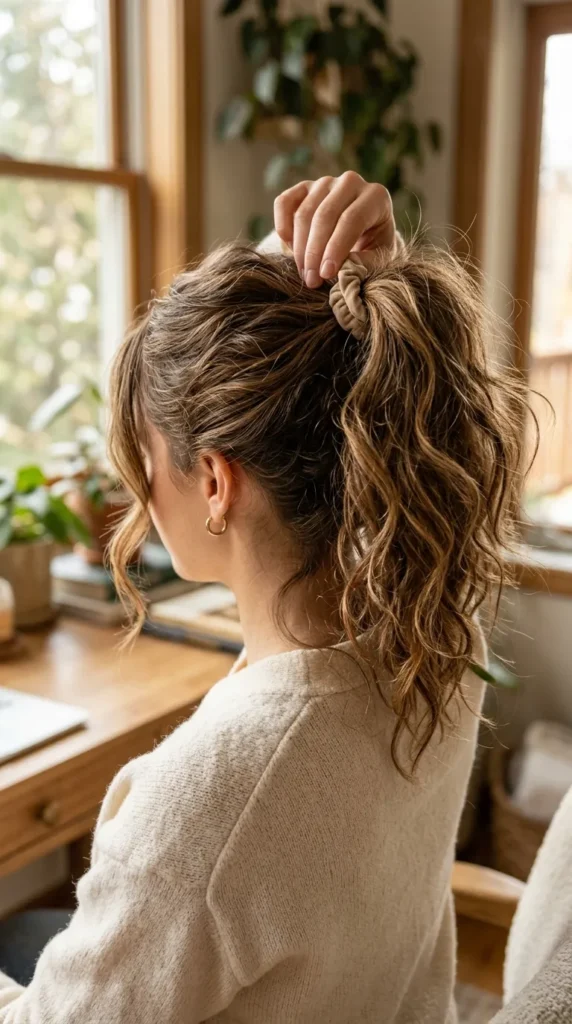
Don’t worry about perfection; loose strands add charm to the final look. Pinterest users love this step because it sets the foundation for a quick, stylish bun.
4. Secure with Hair Tie
Use a strong hair tie to secure your ponytail firmly. This ensures your bun stays in place throughout the day. A tight base is important for creating a stable messy bun that won’t fall apart.
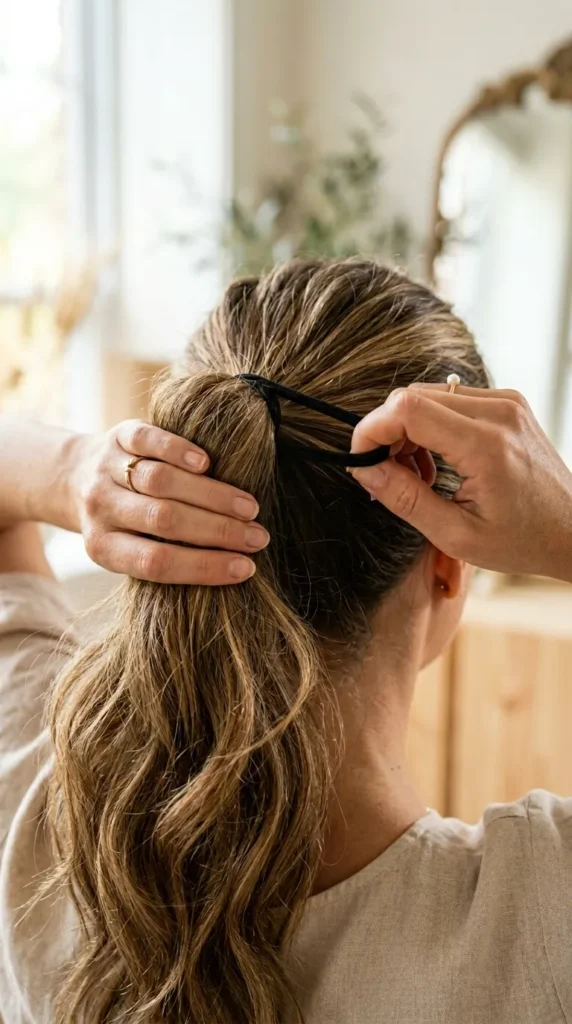
You can double-wrap the hair tie if your hair is thick or heavy. Pinterest users love this step because it ensures long-lasting hold without complexity.
5. Loosen the Crown Area
Gently pull at the crown area to add volume before forming the bun. This creates a lifted, fuller look instead of a flat ponytail base. Volume is key to achieving that effortless messy bun aesthetic.
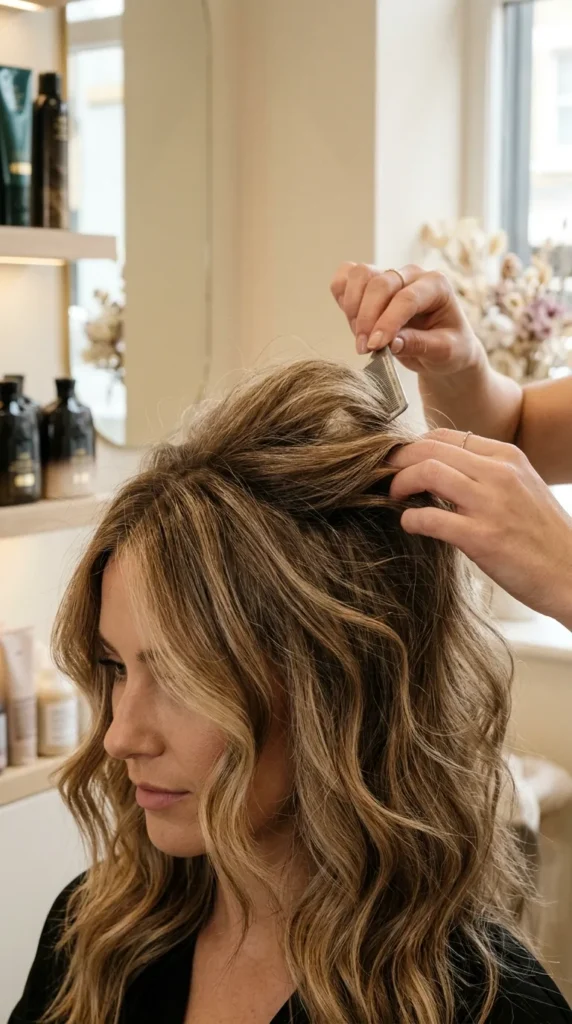
This step also helps balance the face shape and adds softness. Pinterest users love it because it enhances natural beauty with minimal effort.
6. Twist the Ponytail
Take your ponytail and loosely twist it from top to bottom. This creates the base structure for wrapping the bun. The twist should not be too tight, as a relaxed texture is essential for the messy look.
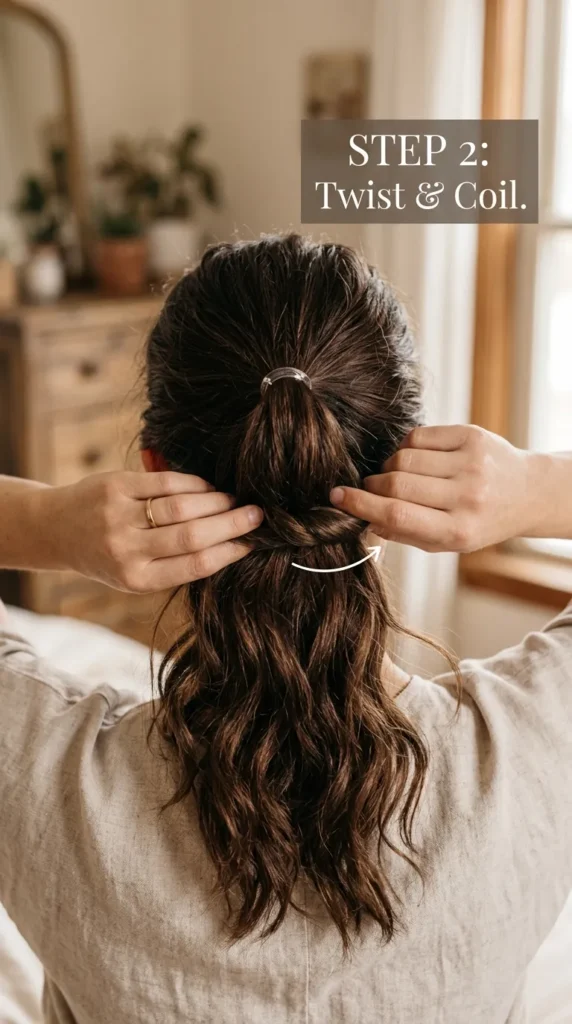
A loose twist gives more softness and volume. Pinterest users love this step because it makes the bun look effortless and natural.
7. Wrap Hair Around Base
Wrap the twisted ponytail around the hair tie to form a bun shape. Do not aim for perfect alignment—imperfections make the style more natural and trendy. This is where the messy bun starts to take shape.
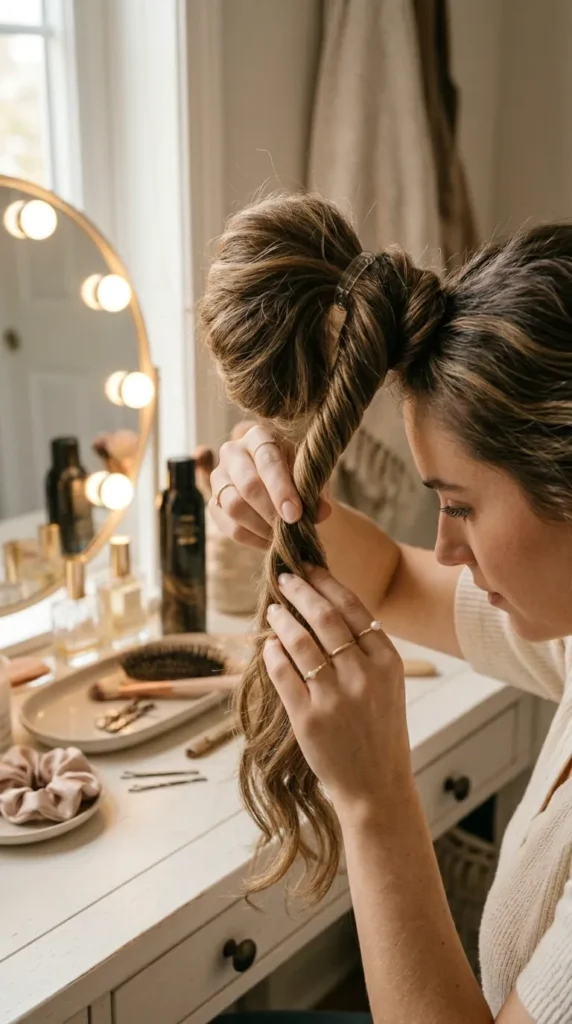
You can wrap loosely or tightly depending on your desired volume. Pinterest users love this step because it builds the iconic messy bun silhouette.
8. Secure with Pins
Use bobby pins to secure the bun in place. Insert them randomly around the bun to hold structure while keeping the messy appearance intact. This ensures your bun stays stable throughout the day.
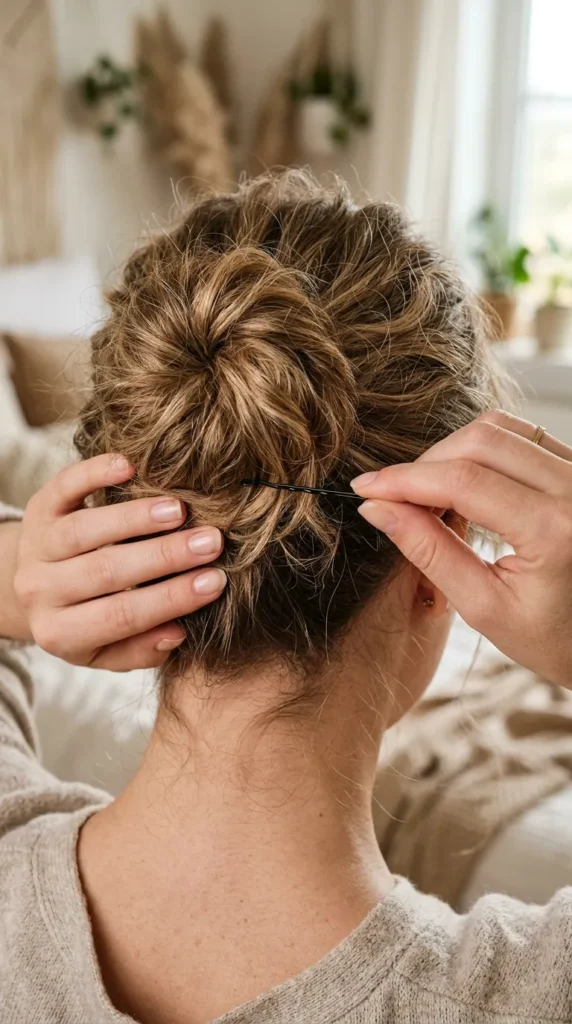
Don’t worry about hiding all pins—slightly visible pins can still look natural. Pinterest users love this step because it adds durability without losing style.
9. Pull Out Face-Framing Strands
Gently pull out a few strands from the front of your face to soften the overall messy bun look. These pieces help balance the hairstyle and give it a relaxed, effortless vibe. Without them, the bun can look too tight or structured, which reduces the “messy chic” effect.
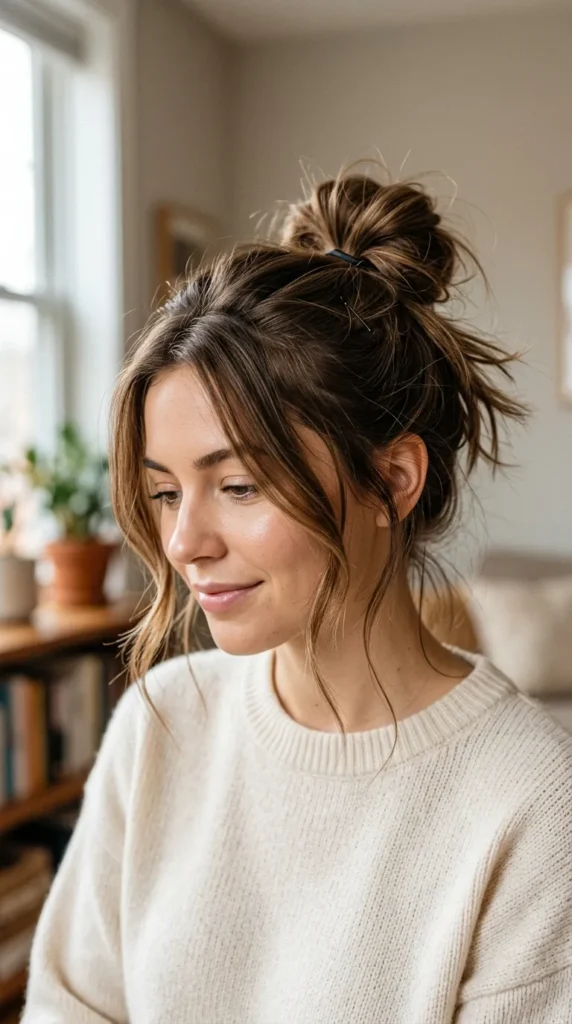
These loose strands also frame your face beautifully and enhance your natural features. Pinterest users love this step because it instantly adds softness, romance, and a more aesthetic finish to the hairstyle.
10. Loosen the Bun Slightly
After securing the bun, gently pull at different sections to loosen it. This creates volume and texture, making the bun look fuller and more natural. The goal is to avoid a tight or overly perfect shape.
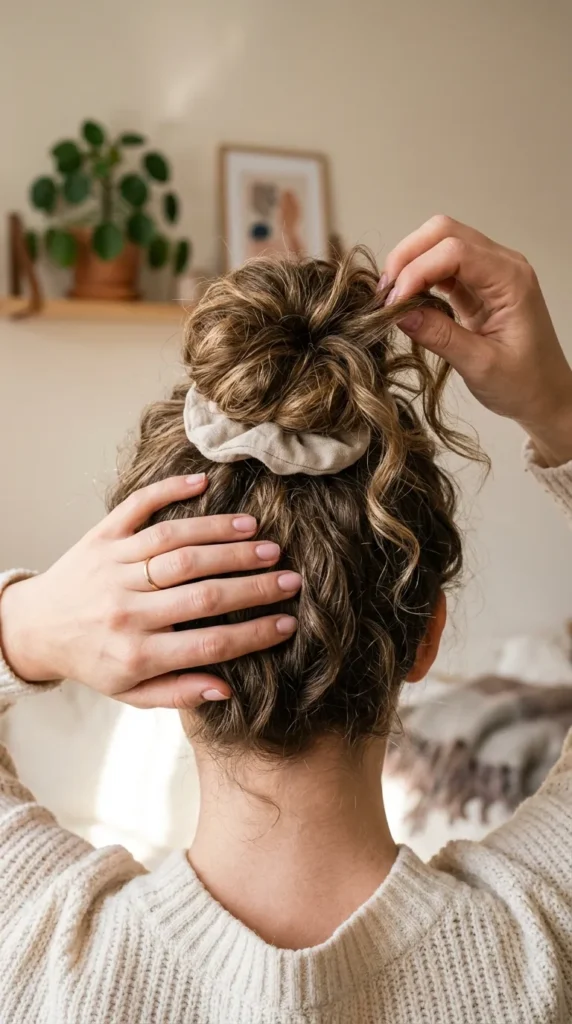
Loosening the bun gives it that signature messy, effortless style that is trending on Pinterest. It also helps the hairstyle look more balanced and soft from all angles.
11. Add Volume at the Crown
Lift small sections of hair at the crown area to add height and dimension. This step is important because it prevents the bun from looking flat or lifeless. A bit of volume makes the hairstyle more flattering.
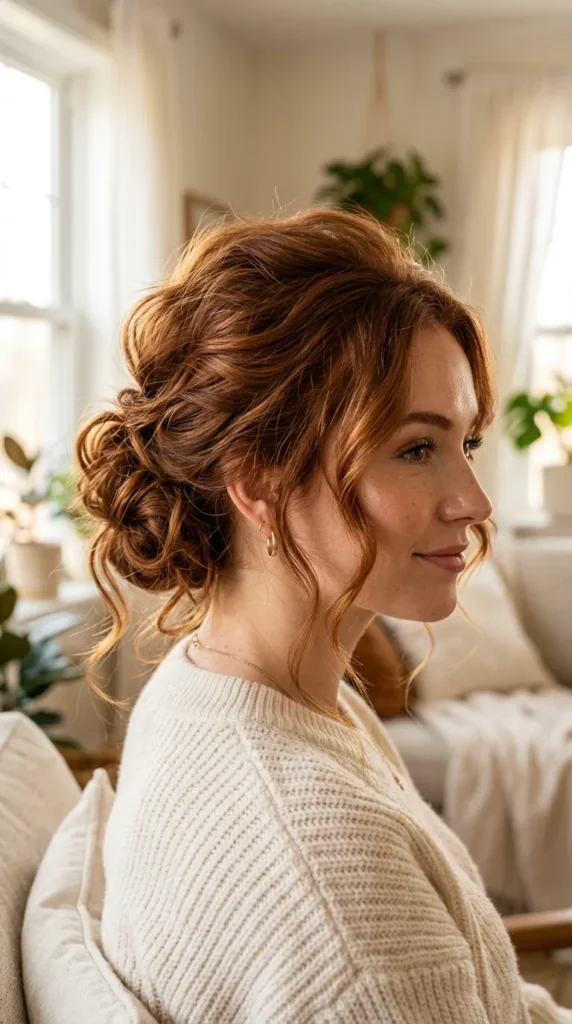
It also enhances the overall silhouette of the head and gives a salon-styled finish. Pinterest users love this trick because it instantly upgrades a simple bun into a stylish look.
12. Create a Low Messy Bun Variation
For a softer and more elegant look, move the bun lower toward the nape of the neck. This variation is perfect for casual events, work settings, or romantic outfits. It gives a relaxed but polished appearance.
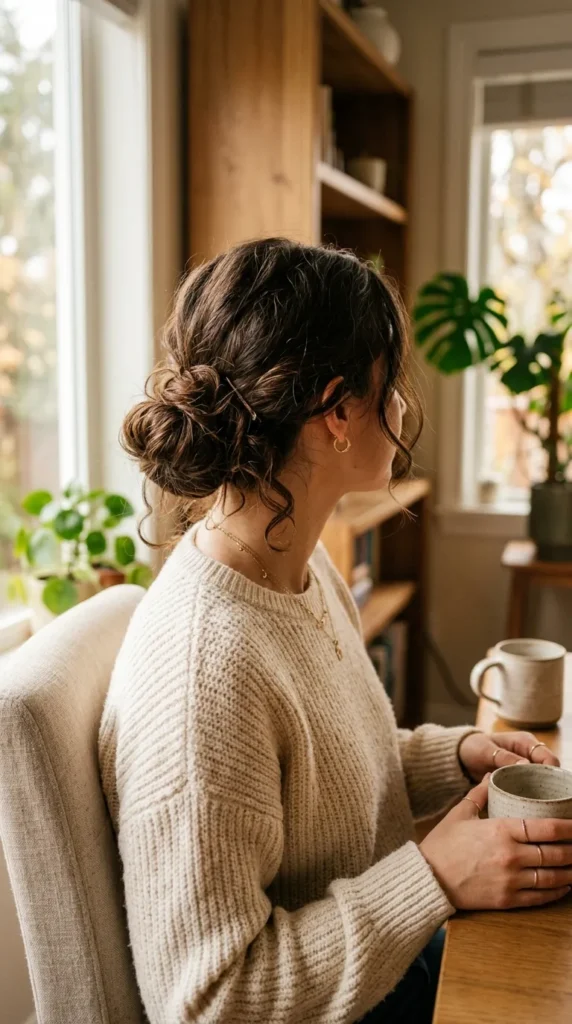
The low messy bun is also more comfortable and stays secure throughout the day. Pinterest users love this version because it feels effortless and classy at the same time.
13. Try Half-Up Messy Bun
The half-up messy bun is a trendy variation where only the top section of hair is tied into a bun while the rest flows freely. This creates a youthful and playful hairstyle that works for many occasions.
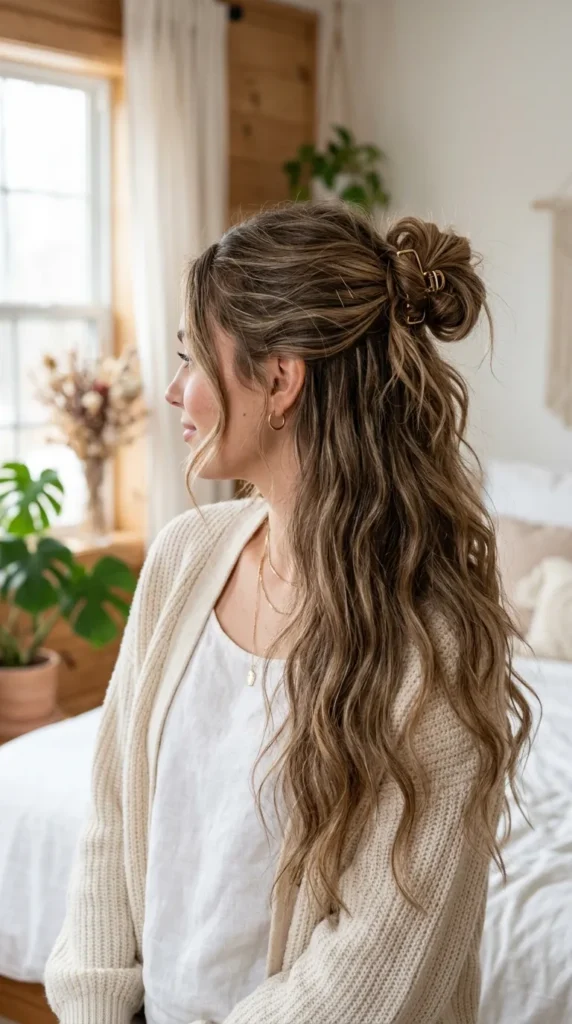
It combines structure and softness, making it perfect for casual outings or Pinterest-inspired looks. This style is especially popular because it is quick and visually appealing.
14. Use Texturizing Spray
Spray a light texturizing product throughout your hair to enhance grip and volume. This helps the messy bun stay in place while adding a soft, airy texture. It is especially useful for silky or freshly washed hair.
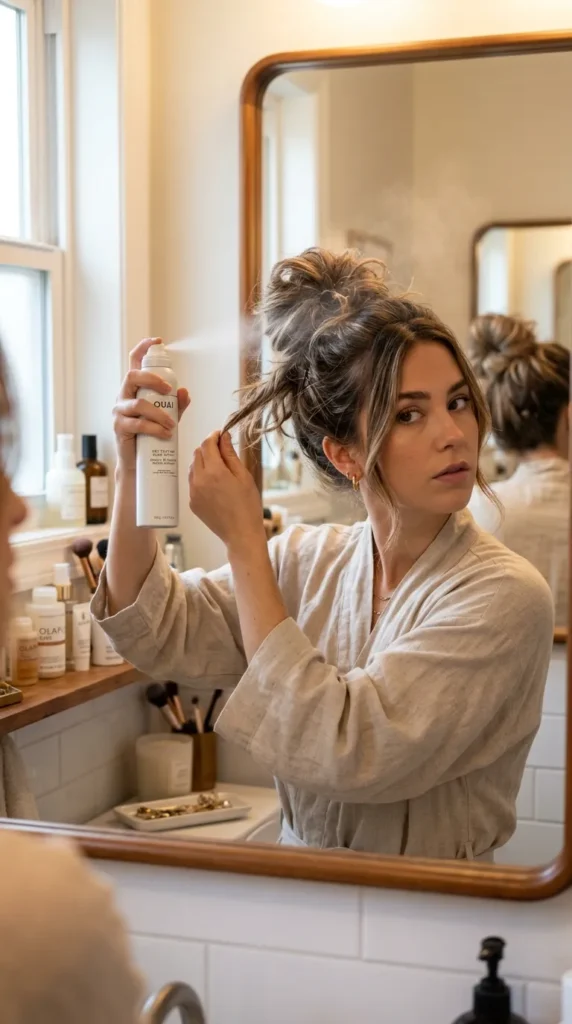
This step also improves hold without making hair stiff or sticky. Pinterest users love this because it creates a natural, undone look that lasts all day.
15. Fix Uneven Sections
Check your bun from different angles and gently adjust uneven sections. Pull or tuck strands to create a balanced but still imperfect shape. This step ensures your bun looks intentional rather than messy by accident.
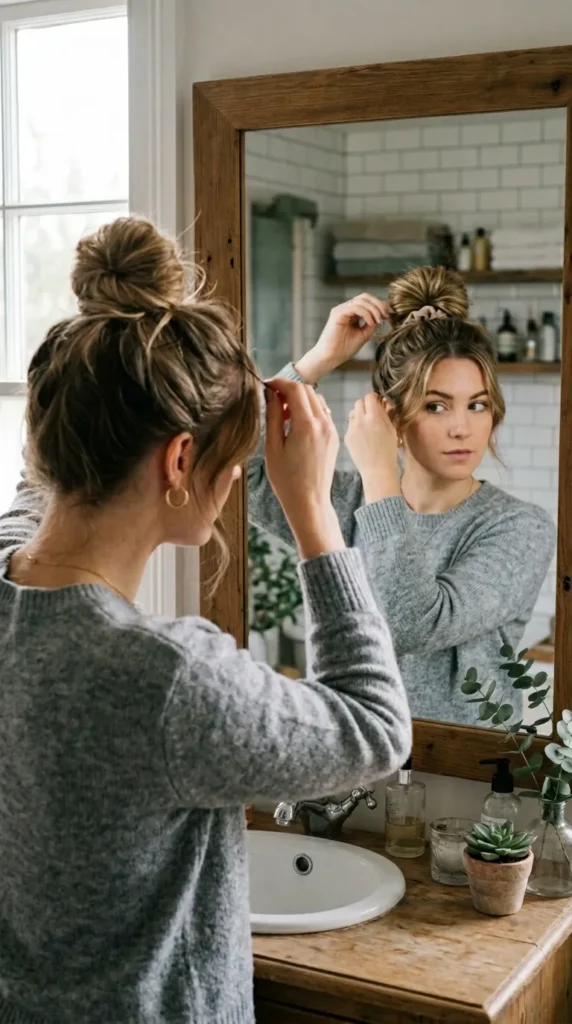
The goal is controlled imperfection, which is the key to a perfect messy bun. Pinterest users love this step because it refines the final look.
16. Secure Loose Ends
Tuck in any loose ends using bobby pins while keeping the relaxed look intact. You don’t need to hide everything—some stray strands actually enhance the messy effect.
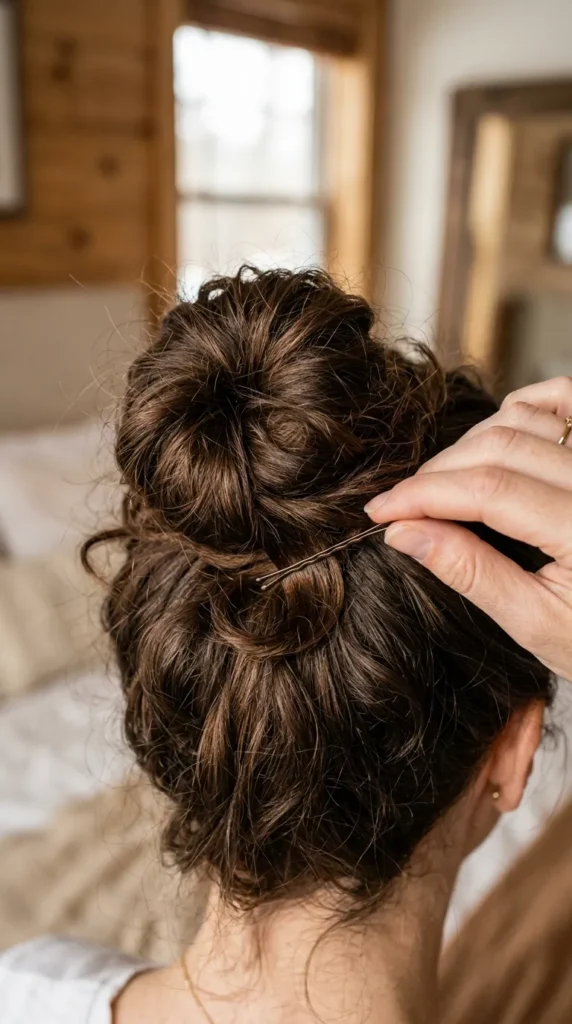
This step ensures durability while maintaining style. Pinterest users love it because it balances structure and softness perfectly.
17. Fluff the Bun Shape
Gently fluff the bun by pulling small sections outward to increase volume. This creates a fuller, more dimensional hairstyle that looks naturally styled rather than tightly arranged.
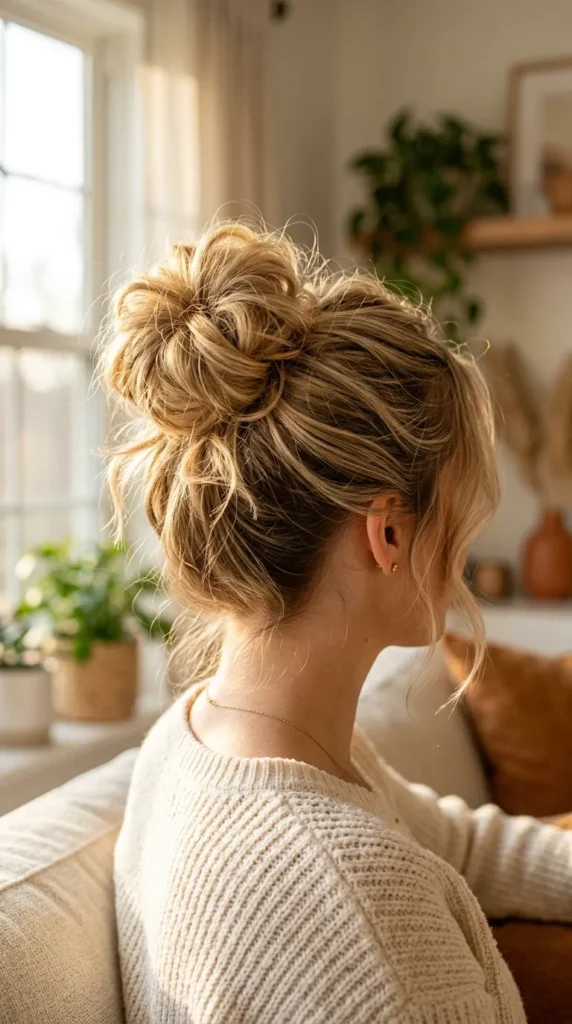
Fluffing is what transforms a basic bun into a Pinterest-worthy messy bun. It adds personality, movement, and softness to the final look.
18. Add Hair Accessories
Adding accessories like decorative pins, clips, or minimal jewelry pieces can instantly elevate a messy bun. This step turns a simple hairstyle into a Pinterest-worthy look without extra effort. Accessories help define the bun and make it suitable for both casual and semi-formal occasions.
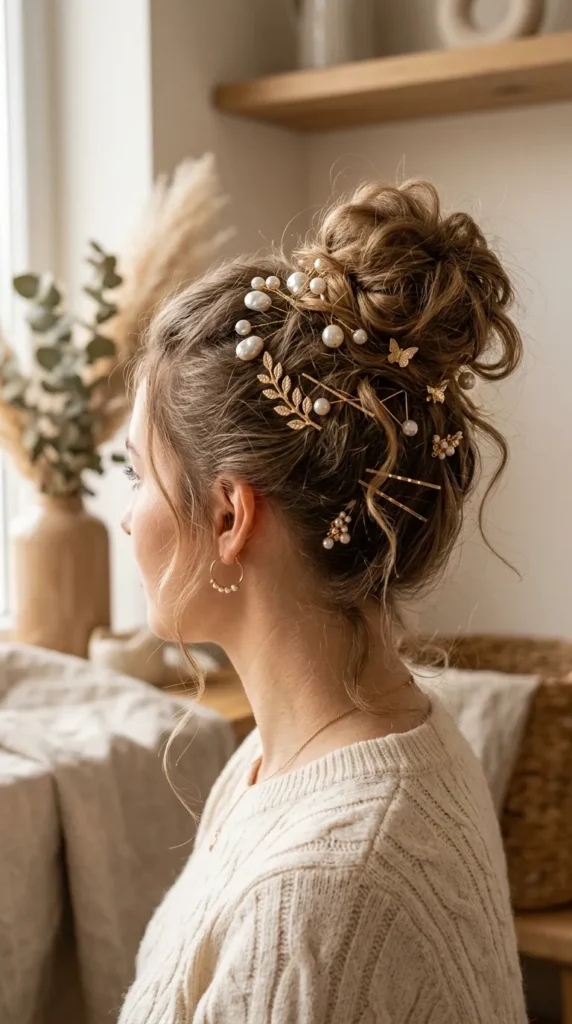
You can choose gold pins for elegance, pearl clips for soft glam, or minimalist designs for everyday wear. Pinterest users love this step because it transforms a basic messy bun into a stylish statement hairstyle.
19. Use a Scrunchie for Volume
Switching your regular hair tie with a scrunchie adds instant volume and softness to your messy bun. Scrunchies create a fuller base and give the hairstyle a more playful and trendy appearance. They are also gentler on the hair, reducing breakage.
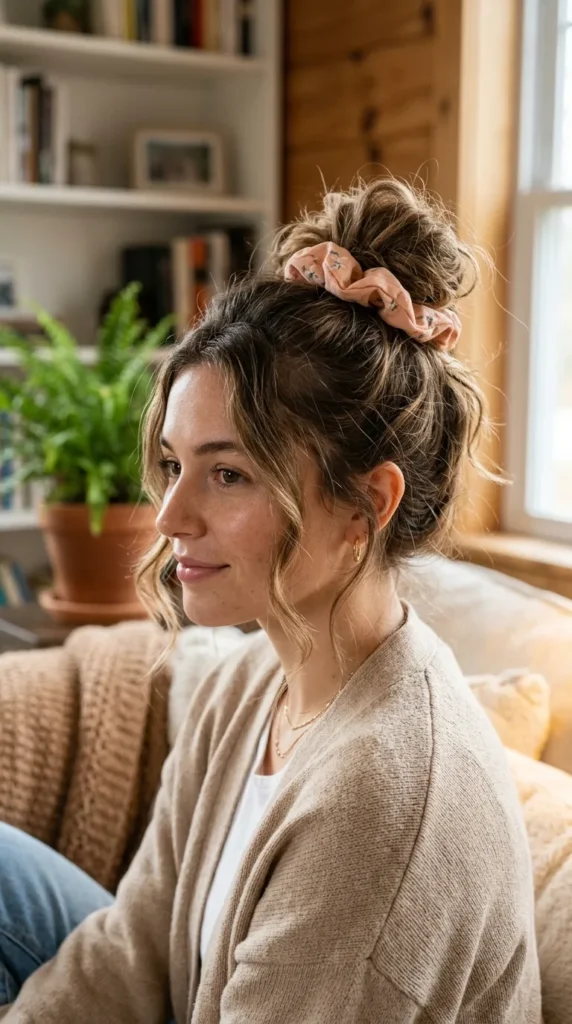
This small change can completely upgrade your messy bun look. Pinterest users love scrunchie buns because they feel nostalgic, cute, and effortlessly fashionable.
20. Create a Sleek-to-Messy Base
Start with a slightly sleek ponytail before loosening it into a messy bun. This combination gives structure at the base while maintaining softness in the final look. It is perfect for balancing elegance and effortless styling.
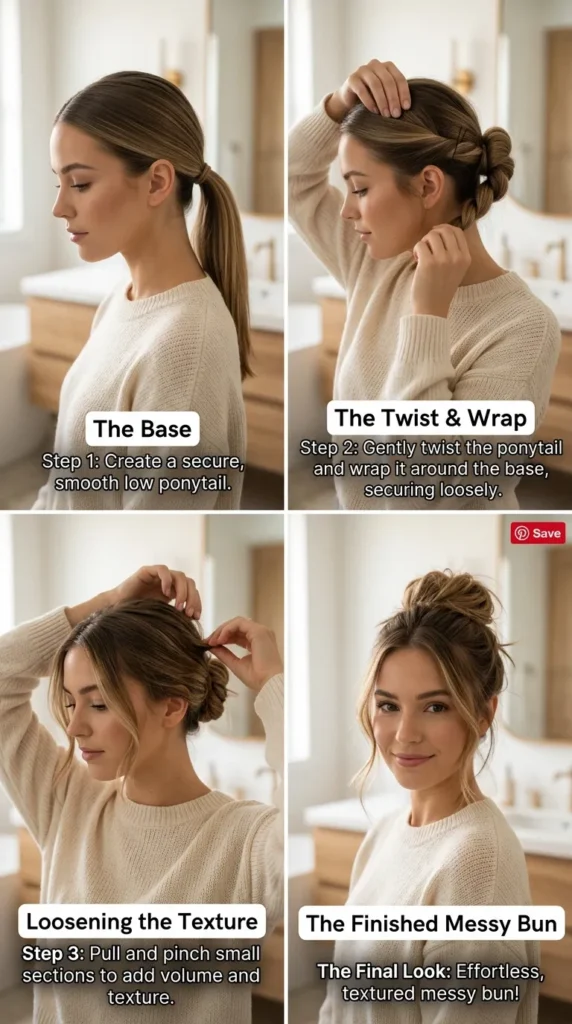
This technique is great for occasions where you want a polished yet relaxed hairstyle. Pinterest users love this hybrid method because it looks intentional and modern.
21. Workout Messy Bun
The workout messy bun is designed for comfort and stability during physical activities. It keeps hair tightly secured while still maintaining a relaxed and effortless appearance. This version focuses on practicality over perfection.
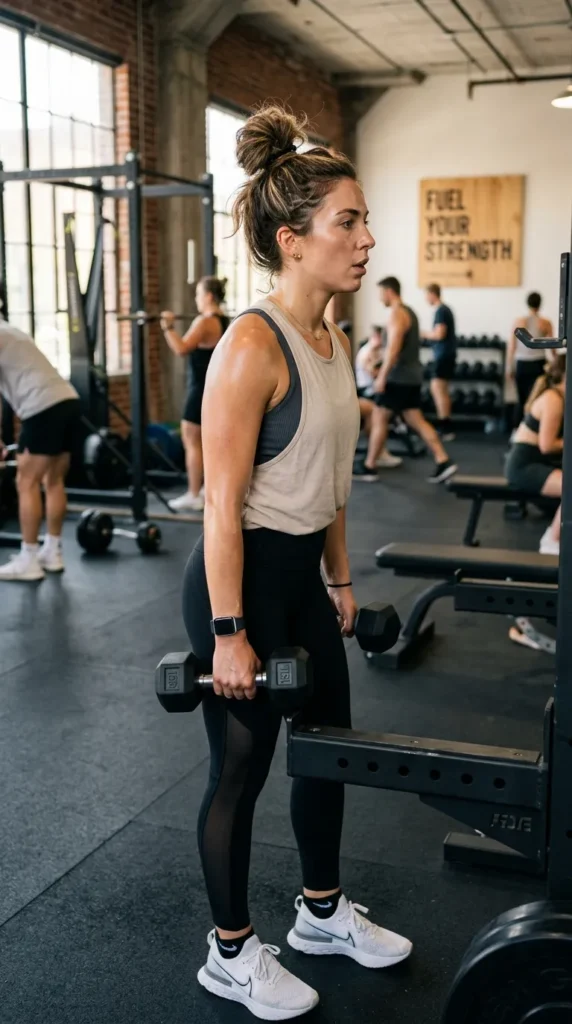
It is ideal for gym sessions, yoga, or active days. Pinterest users love this style because it is quick, functional, and still looks cute even during workouts.
22. Soft Glam Messy Bun
The soft glam messy bun combines elegance with a relaxed structure, making it perfect for dates, parties, or events. It includes soft volume, curled strands, and a slightly polished finish while still looking effortless.
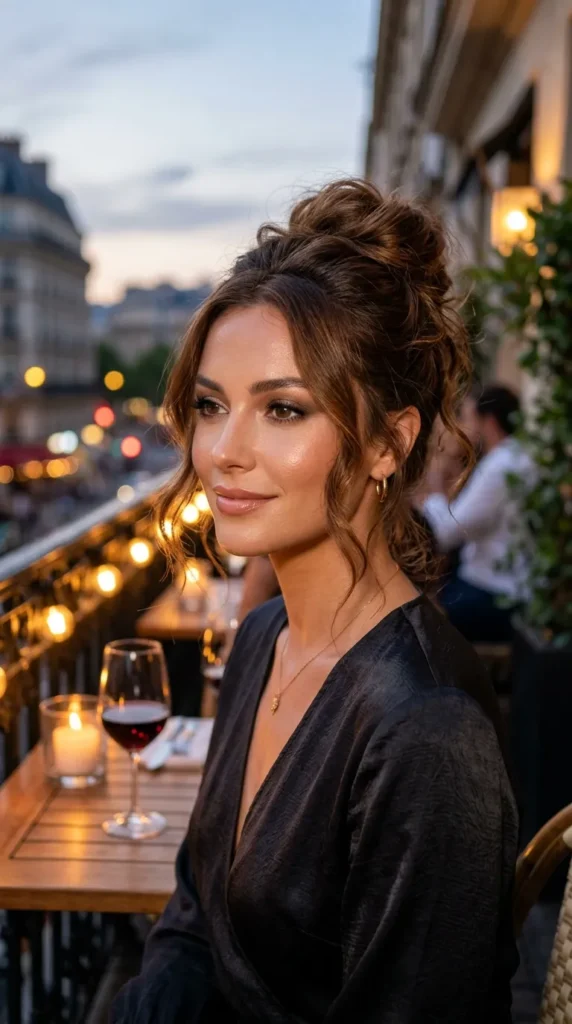
This style bridges casual and formal beautifully. Pinterest users love it because it gives a red-carpet feel without being overly stiff or complicated.
23. One-Minute Messy Bun
The one-minute messy bun is the fastest version of this hairstyle. Simply twist your hair, wrap it into a bun, and secure it loosely. It is perfect for busy mornings, errands, or quick styling situations.
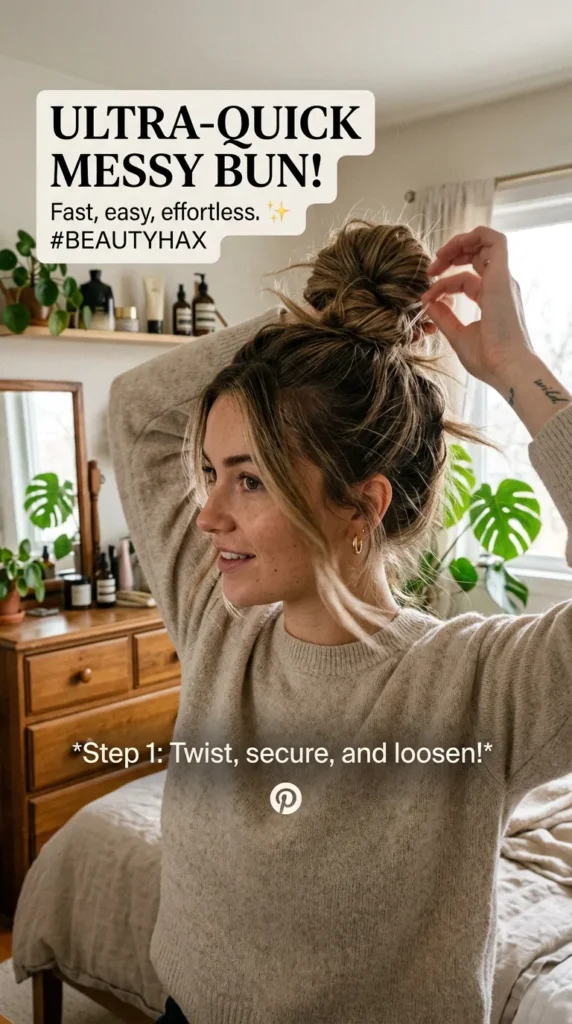
Even though it is quick, it still delivers a cute and effortless look. Pinterest users love this step because it is practical, fast, and beginner-friendly.
24. Fix Flyaways Naturally
Lightly smooth flyaways using fingers or a small amount of serum to refine the messy bun. The goal is not to remove all loose strands but to control them for a cleaner finish.
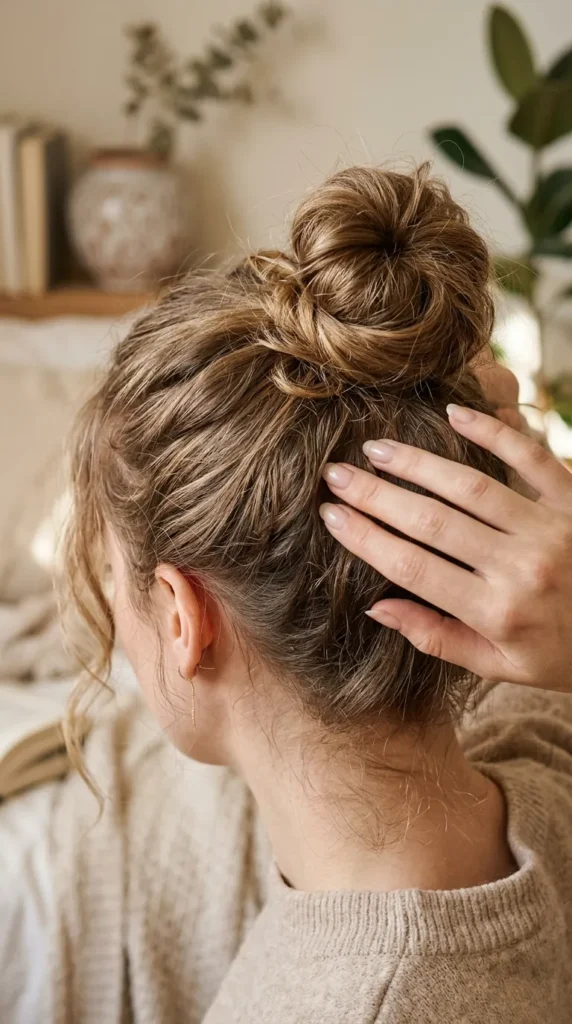
This step helps balance the hairstyle while keeping its natural texture. Pinterest users love it because it maintains the messy aesthetic without looking unkempt.
25. Final Shape Adjustment
Make final adjustments by checking your bun from all angles in the mirror. Add volume, reposition pins, or loosen sections until the shape feels balanced and stylish. This step ensures the hairstyle looks intentional and photogenic.
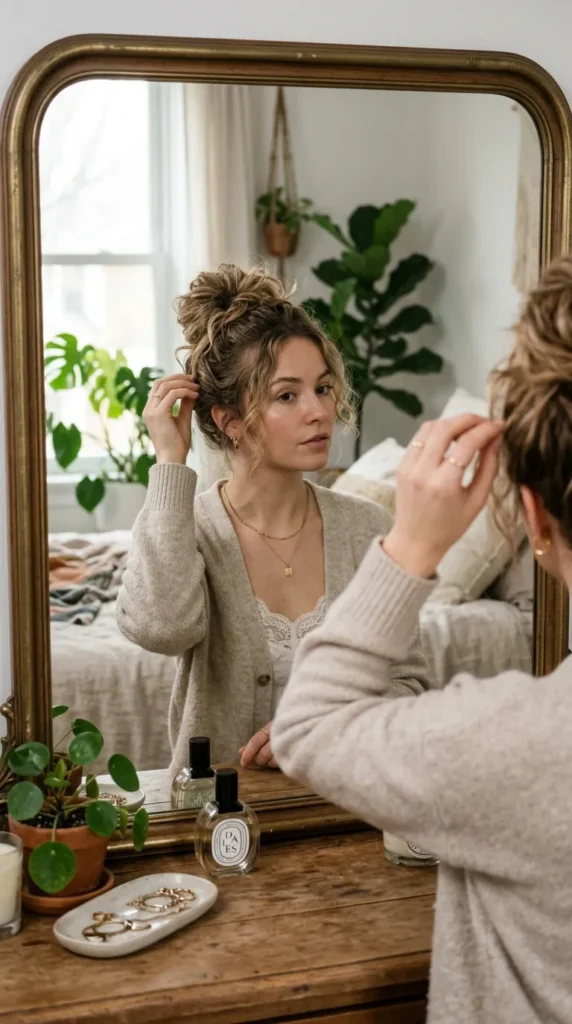
A well-shaped messy bun should look effortless but still symmetrical in structure. Pinterest users love this final touch because it perfects the overall look.
Conclusion
The messy bun is one of the most versatile and timeless hairstyles you can master. Whether you prefer a quick casual look, a soft glam style, or a workout-ready bun, these 25 easy steps help you create endless variations that fit every occasion.
Pinterest users love the messy bun because it blends simplicity with effortless beauty. Once you understand these steps, you can customize your bun to match your mood, outfit, or event—making it your go-to hairstyle for every day.